It’s nice to every now and then to dial back the fancy, and make something super simple and super yummy to keep your family fed. This one is a long time favourite of mine, where the focus is on good quality ingredients, loaded with classical flavours.
This is a bulk recipe, but keeps and reheats fantastically well, so perfect for hungry mouths for work lunches, or a snack to keep the kids happy after school.

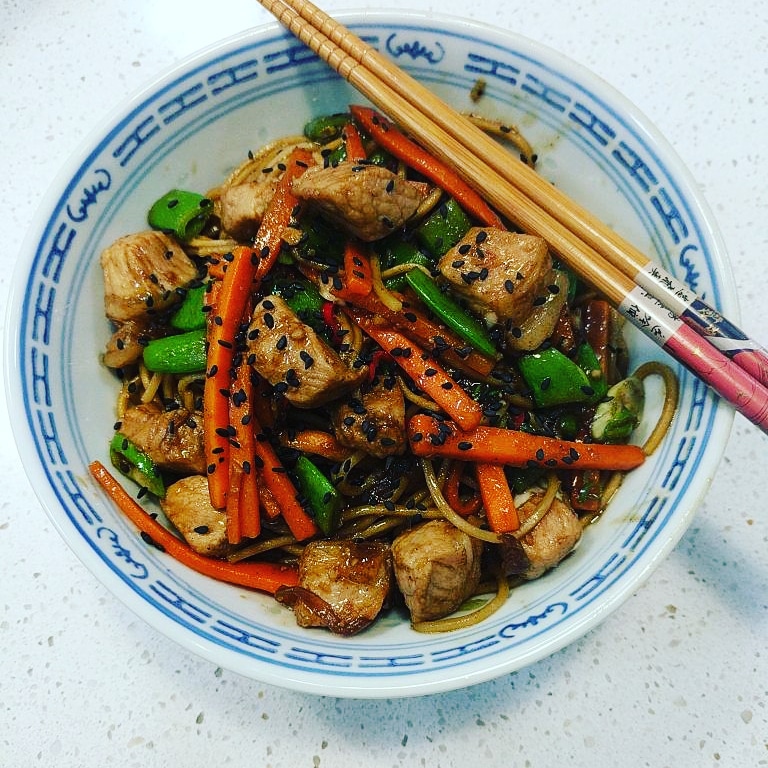
Beef and Broccoli Stirfry
1.2kg Rump or Topside steak, thinly sliced
2 large onions, peeled, cut into wedges
2tbsp cornflour
1/4c vegetable oil
1kg broccoli, chopped into florets
2 red capsicums, thinly sliced
500g water chestnut slices
3 cloves garlic
4tsp crushed ginger
300g snow peas, topped and tailed and chopped in half lengthways
1/4c kecap manis
1/4c honey soy marinade
1/4c sweet chilli sauce
6 spring onions, chopped into 4cm battons
500g Udon noodles
- Combine your cornflour with a light seasoning of salt and pepper. Place in a ziplock bag with beef strips and shake to coat thoroughly.
- Prepare and cook udon noodles as per packet directions, whilst cooking, prepare stirfry as follows;
- Heat 1tsp oil in hot wok and swirl to coat, cook beef in 4-5 batches, for 2-3 minutes until just browned, before transferring to a heat proof bowl. Add another teaspoon of oil and reheat between each batch.
- Heat remaining oil, add onion, garlic, ginger and broccoli to the wok, stirfry for 2 minutes. Then add capsicum, snow peas and water chestnuts.
- Return beef to pan with spring onions, sauces and any resting juices from beef bowl. Toss to coat, and warm through.
- Add cooked and drained udon noodles. Serve hot with a sprinkle of fresh thinly sliced chilli.
Happy Cooking! ~LC